Easy No Knead Bread Recipe (No Stand Mixer Required)
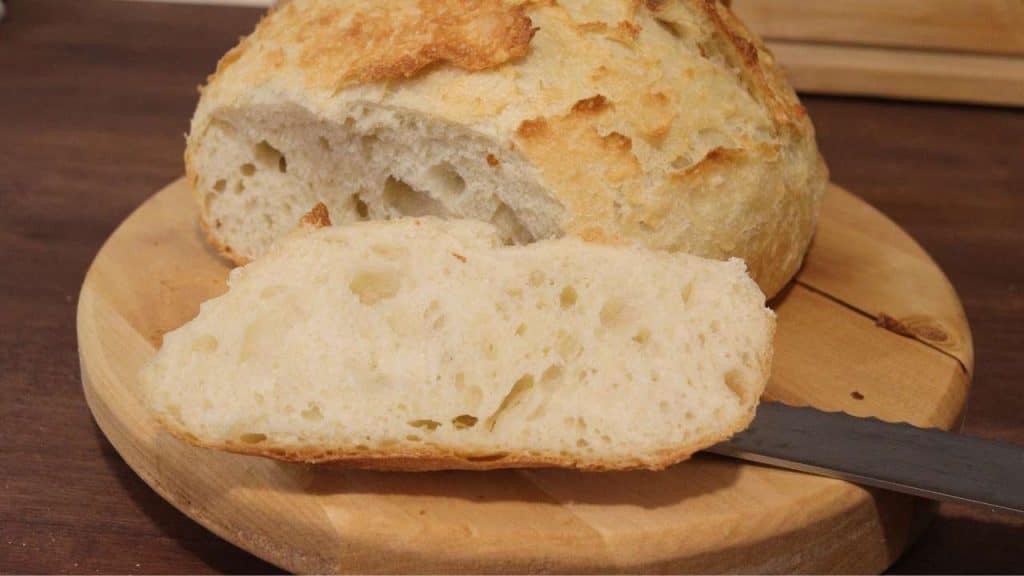
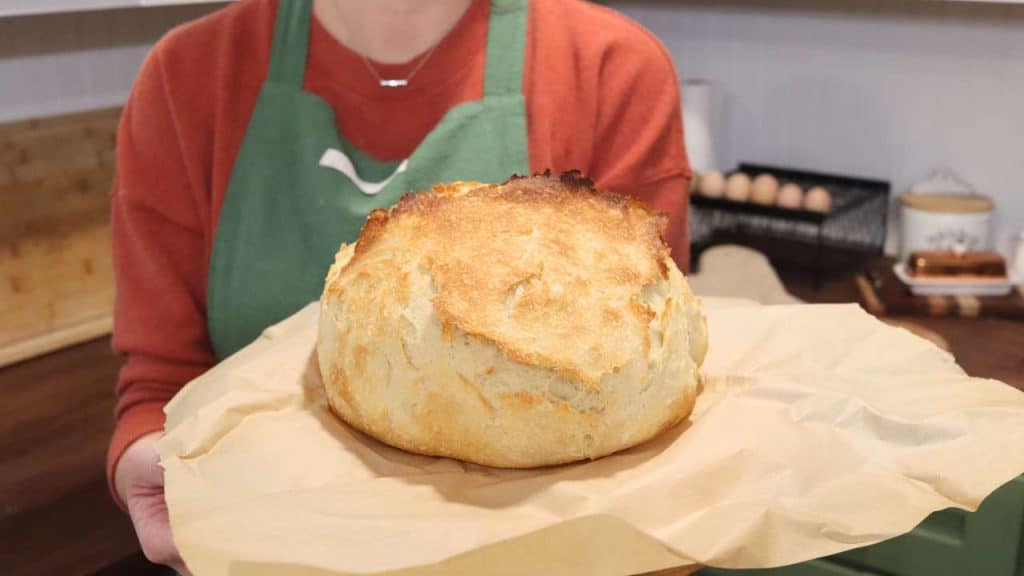
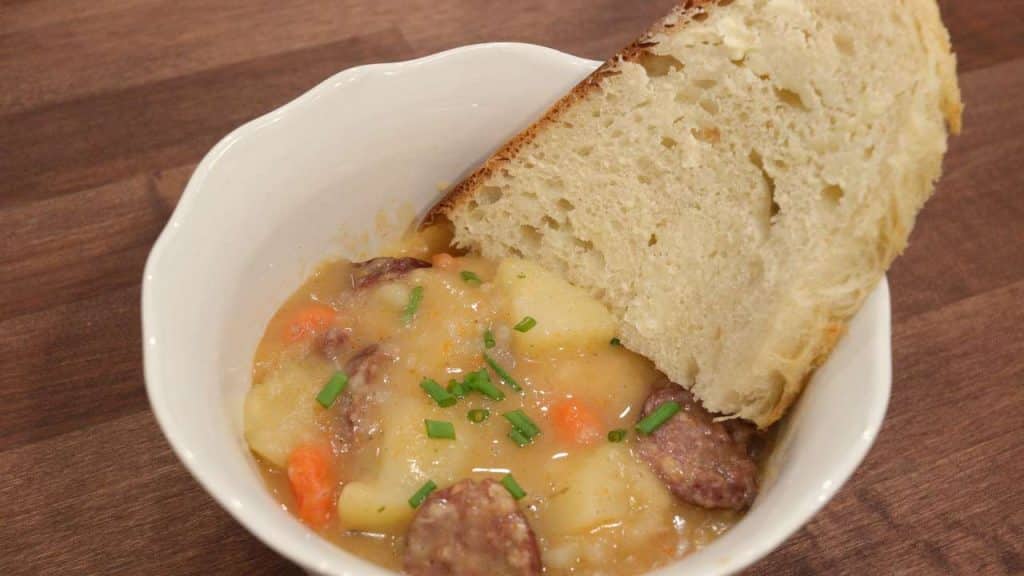
This simple recipe for no knead yeast bread yields one artisan style loaf without the use of a sourdough starter or stand mixer. The crusty outside makes it perfect for a sandwich or alongside a bowl of soup!

When I first started making homemade bread, I remember being so frustrated by the fact that I didn’t have a stand mixer. It seemed like every recipe I would find would call for kneading the dough in a stand mixer.
Of course, I know now that you can knead the dough by hand, (as long as you have some arm strength!).
It was during that time that I fell in love with this no knead bread recipe. And even though I do have a stand mixer now, I still find myself regularly making this recipe due to how simple it is.
Affiliate disclosure: This post may contain affiliate links. As an Amazon Associate this means I will earn a small commission if you choose to purchase through my links. This is at no extra cost to you! Read full disclosure here.
Ingredients to Make No Knead Bread
Ready to make a beautiful artisan style loaf of bread without a sourdough starter? Here’s what you need:
- Active Dry Yeast
- Salt
- Sugar
- Flour – all purpose flour or bread flour work just fine for this recipe
- Water
Variations to Artisan Bread
You can add additional ingredients to this basic recipe to change up the flavor profile. Add them to the top of the formed loaf right before baking or chop small and mix in with your dough before shaping the loaf. Here are some of my favorites add ins.
- Cheddar Cheese and Sliced Jalapenos
- Mozzarella and Sun Dried Tomatoes
- Italian Seasoning and Parmesan

Equipment Needed
- Dutch Oven
- Large Mixing Bowl
- Large Spoon or Dough Mixer
- Parchment Paper
How to Make No Knead Bread
Proofing Yeast
To begin, you want to proof your yeast. This is the step of making sure your yeast is alive and active before baking.
All you need to do is add 1.5 cups of warm water to a large mixing bowl. Sprinkle in your yeast, salt, and sugar. Give it a little mix to combine and wait about 5-10 minutes.
At the end of the waiting time, you should see that your yeast has bloomed (it will look foamy on top of the water).
Add the Flour
Begin adding your flour in one cup at a time, stirring well to incorporate. Continue adding the flour, stirring each time, until you have a thick, sticky, dough.
Keep in mind this dough will be sticky – but it shouldn’t be “runny”. If the dough still resembles a batter (think brownie batter) instead of a shaggy dough, add flour 1/4 cup at a time until the consistency is right.
*I’m aware it can be hard to determine that you’ve added enough flour. If you go to form the loaf and it is very sloppy and unable to shape, it’s a good indicator that you needed more flour.
Check out these other easy from scratch recipes! Simple Sandwich Bread – Old Fashioned Chicken and Dumplings – Chocolate Chip Banana Bread
Let it Rise
Now cover your dough with plastic wrap or a damp tea towel and let it rise anywhere from 1-3 hours in a warm place. During this time, the dough should double in size.
Prepare the Loaf
Now you’re going to start shaping the loaf – but before you do that, you want to get your dutch oven hot. Preheat the oven to 450 degrees with your dutch oven inside, with the lid on.
Prepare your work surface by heavily dusting it with flour. Dump your dough out onto the floured surface. This dough is sticky – so you will need to flour your hands also in order to handle it and get it shaped.
Shape the dough into a tight, round loaf. Transfer to a piece of parchment paper.
Remove the hot dutch oven and transfer the loaf on parchment paper into the pot. Put the lid on and place in oven. Bake for 30 minutes with the lid on. Remove the lid and bake an additional 10 minutes to allow the top to brown.
Remove from the dutch oven and allow to cool before slicing. Fresh bread can be stored in an airtight container on the counter for about 3 days. Storing in the fridge will keep the bread fresh for closer to a week.

No Knead Artisan Yeast Bread
Ingredients
- 1.5 cups warm water 105-115 degrees – any hotter could kill yeast
- 2 tsp active dry yeast
- 2 tsp salt
- 2 tbsp sugar/honey
- 3-4 cups all purpose flour
Instructions
- Start by combining water, yeast, sugar and salt in a large mixing bowl. Allow to sit for 5-10 minutes. Yeast should become foamy on top of water.
- Begin adding in flour 1 cup at a time. After each cup, mix well with a large spoon or dough whisk to incorporate.
- Once dough is has formed (it will be a sticky, shaggy dough), cover the bowl with plastic wrap or damp tea towel. Allow to rise 1-3 hours. Dough should double in size during this time.
- Before you start to shape your loaf, preheat the oven to 450 degrees with dutch oven inside.
- Flour a worksurface and dump your dough out. This dough is sticky, so be generous with the flour. Begin to shape the dough into a round loaf by forming a ball. I like to twist the dough on the worksurface to smooth the bottom seams out.
- Place the formed dough onto parchment paper and transfer into dutch oven. Bake with the lid on for 30 minutes. Remove lid and bake additional 10 minutes.
- Allow bread to cool before slicing.
