Dairy Free Homemade Bread – No Milk, Butter, or Oil
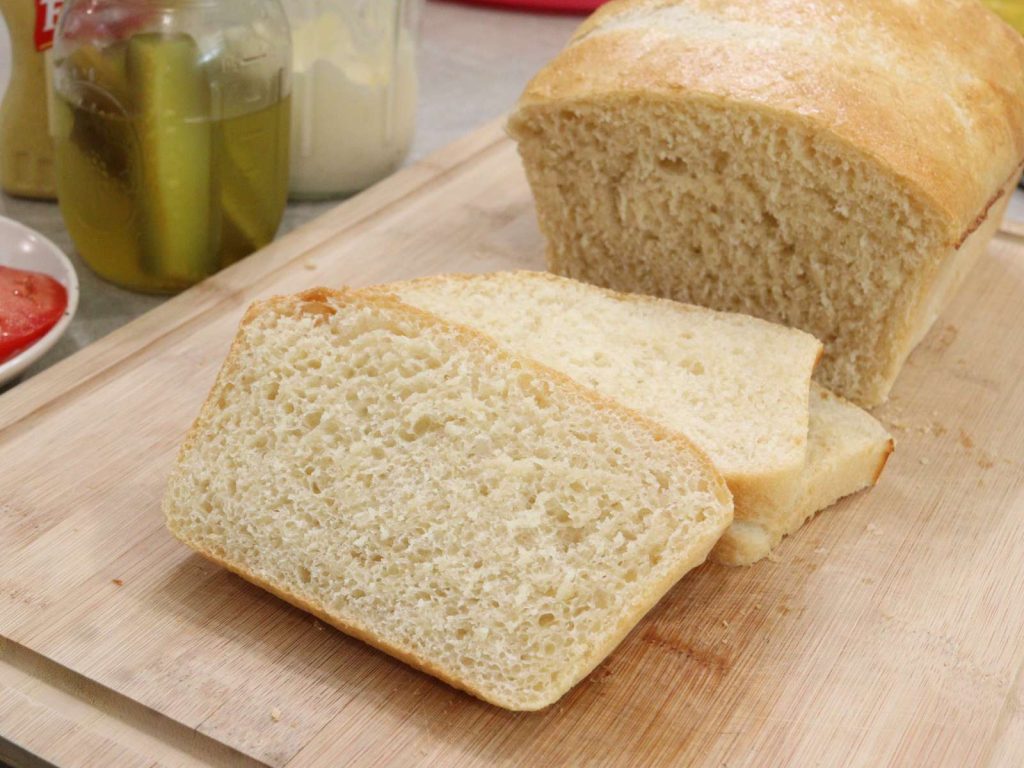
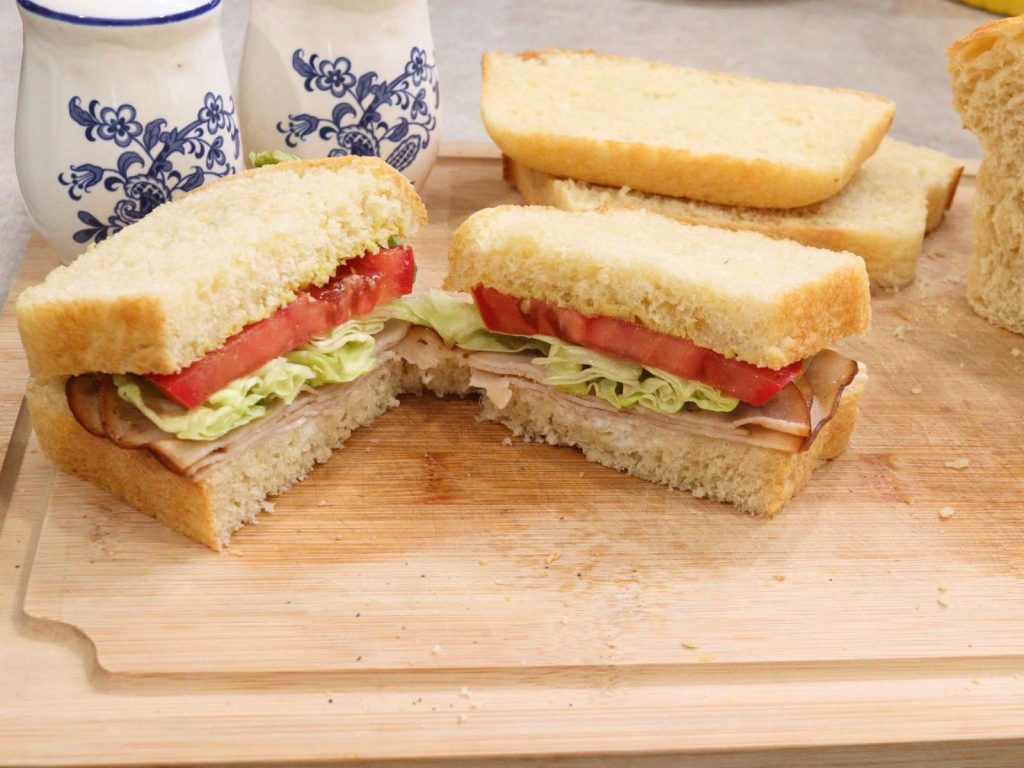
This loaf of homemade yeast bread is made without milk, butter, or vegetable oil. Now you can enjoy the taste and health benefits of homemade bread with just 5 simple ingredients!

It’s no secret that homemade bread is so much better than store bought bread. And not just from a taste standpoint (even though taste is a huge reason why I bake fresh bread weekly).
Nutritionally, homemade bread is free from all of those preservatives and can be made with better for you ingredients.
And when compared to other healthy storebought breads, the cost of making your own loaves at home can be much lower.
My absolute favorite part of this simple bread recipe though, is that it’s so basic. I love experimenting with more complex ingredients and processes – but sometimes you just need quick and easy. And that’s exactly what this recipe offers.
Just a handful of ingredients, a little time, and you’ll have a fresh loaf of bread!
Affiliate Disclosure: This post may contain affiliate links. As an Amazon Associate, this means that I will earn a small commission if you choose to purchase through my links. This is at no extra cost to you!
Ingredients for Homemade Bread without Milk, Butter, or Oil
Flour
First up, you’re going to need to select what type of flour you’re going to be using. I recommend stick to an all-purpose flour for this recipe. If you’re using a different type of flour, like a whole wheat flour, you may find that you need to use more or less of the measured amount listed in the recipe.
This is why you should always add flour bit by bit when following a bread recipe.
Active Dry Yeast
Yeast is the ingredient that makes your bread rise. This recipe uses active dry yeast that needs to be proofed in water. I prefer using this method because you are able to see that the yeast is still active during the proofing process before adding all your other ingredients.
But if you only have instant yeast (also known as rapid rise yeast) on hand, you can still make this recipe. See more on this below.
Salt
Any type of fine salt should work. My favorite is Redmonds Real Salt.
Sugar
I’ve used white sugar, brown sugar, cane sugar, and honey in this recipe with similar results each time.
Egg
This is another reason I love this particular bread recipe. I always have fresh eggs, so I would much rather use my abundance than olive oil or dairy products.
Water
Not much to say about this – except that you’ll want it to be warm (somewhere around 100-110 degrees). Make sure it isn’t hot. Water that is too hot will kill your yeast and the end result will be a dense loaf of bread that is more than likely inedible.
Check out some of my favorite bread making supplies!
- Bamboo Bread Slicer – Helps you to get even slices of homemade bread.
- KitchenAid Stand Mixer – This just makes life so much easier when making lots of bread products. It’s quite the investment though.
- Dough Scraper/Cutter – Useful for scraping dough off of the counter or cutting the dough into even pieces.

To Use Instant Yeast in Place of Active Dry Yeast
1. Measure Accordingly
1 tsp of active dry yeast = 3/4 tsp of instant yeast. Since this recipe calls for 2 tsp of active dry yeast, you’ll need 1.5 tsp of instant (rapid rise) yeast.
2. Skip Proofing
Rapid rise yeast does not need to be proofed in water. It can be added to dry ingredients and should be thoroughly incorporated.
3. Adjust Dough Rising Times
Dough made with rapid rise yeast may rise faster than dough made with active dry yeast. Keep an eye on your dough and move on to the next step once it has doubled in size.
Interesting in cooking more from scratch? Try these Easy Recipes! Homemade Chicken and Dumplings – Easy From Scratch Drop Biscuits – Homemade Chocolate Chip Banana Bread
How to Make the Easiest Loaf of Dairy Free Homemade Bread
If this is your first time making homemade bread, you’re going to be shocked at how simple this recipe is.
Proof Your Yeast
In the bowl of a stand mixer (or a large mixing bowl if kneading by hand) combine your warm water, yeast, and sugar. Allow this mixture to sit for about 5 minutes. At the end of this time period, you should notice a frothy layer on top of the water. This means that your yeast is active and you’re ready to move on to the next step.
Add Other Ingredients
Next, add in your egg and salt. Stir until combined.
Now, you’re going to start adding your flour. Put the dough hook attachment on your stand mixer if you’re using one. Start with adding 1 cup of flour at a time, up to 3 cups of flour. After you’ve made it to 3 cups, switch to adding flour 1/2 cup at a time until dough starts to pull away from the sides of the bowl.

Knead, Rise, Shape, Rise
Allow the stand mixer to knead the dough for about 4 minutes.
If kneading by hand, transfer the dough to well-floured surface, and knead until smooth and elastic.
Grease a large bowl and place the dough in it. Cover with a tea cloth and place in a warm place. I like to use my oven with the light turned on to create a warm environment. Allow the dough to rise for about an hour, or until doubled in size.
After the first rise, you will punch the dough down. Place on a floured surface and shape into a loaf. Place the shaped loaf into a grease loaf pan. For the second rise, allow the dough to rise for about 30 minutes, or until the dough has risen above the sides of the bread pan.
Bake the Loaf
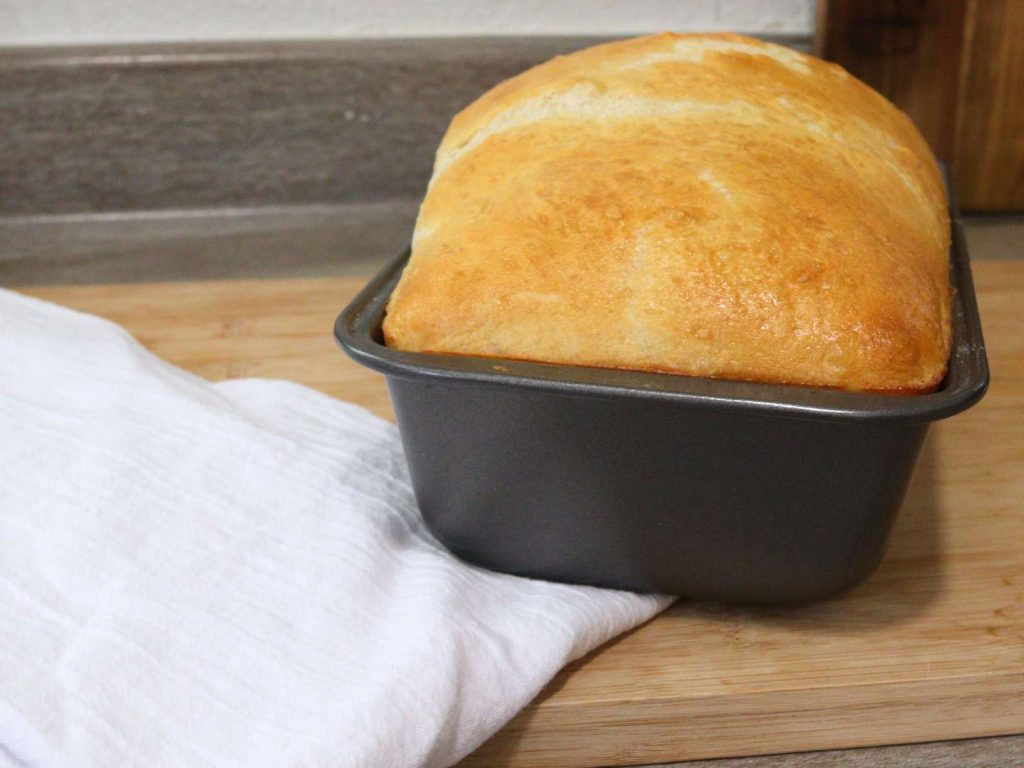
While the waiting on the dough to rise the second time, preheat your oven to 350 degrees f. Bake the bread at this temperature for 25-30 minutes.
If you’re wanting to get a nice golden brown crust, apply an egg wash before baking.
When the bread comes out of the oven, remove it from the pan and allow to cool on a wire rack.
You’re technically supposed to let it cool completely before slicing – but my kids can never wait for a fresh slice slathered with butter.
You can store in a bread box for 2-3 days at room temperature, or in an airtight container in the fridge for a week or so.

Troubleshooting Bread Recipes FAQ
Why didn’t my dough rise?
There are various factors that could affect your dough not rising.
Some of the most common factors are using old or expired yeast, using water that is too hot during proofing, or not having a warm enough location for the dough to rise in.
Other factors could be over kneading or under kneading. Kneading is the process for developing gluten, so doing too much or too little can have an impact on bread rising.
Or, you may have possibly used too much flour in your dough, resulting in a dough that was too dense to rise properly.
Why didn’t my yeast bubble during the proofing process?
Fresh yeast should bubble during the proofing process. If you don’t see bubbles/foam develop during the proofing process, it could be a sign that your yeast was old. It could also mean that your water was too hot and killed the yeast. Remember you should be using lukewarm water – not hot – during this step.
My dough is really sticky. Is that normal?
Your dough will still be somewhat sticky to the touch. Be sure to flour your surface to eliminate it from sticking. You can also lightly dust your hands with flour. If you keep adding flour until it’s not sticky at all, you will end up with a really heavy bread or a bread that doesn’t rise properly.
However, if it’s really sticky and runny, to the point you can’t handle it while kneading, that’s probably a sign you need more flour.
Can I use a gluten-free flour blend?
You can definitely give it a shot! I’ve not personally tried it, but if you do, let me know how it turns out.
Can I omit the egg in this bread recipe?
If you are also avoiding eggs, you can substitute the egg for an additional 1/4 cup of water.
Another option, that I haven’t tried, is to use a flax egg in place of the chicken egg.
Can I make dinner rolls from this recipe?
YES! I absolutely love to use this exact same recipe for dinner rolls. If you need more step-by-step instructions on how to do that, check out Simple Homemade Dinner Rolls without Milk or Oil.
Can I double this recipe?
You sure can. This recipe easily doubles. Just divide the dough into equal portions before placing in the loaf pans.
Simple Dairy Free Bread Recipe
Equipment
- Stand Mixer with Dough Hook optional
- 9X5 Loaf Pan
- Large Bowls one for mixing if you're not using a stand mixer
Ingredients
- 1 1/4 cup warm water 100-110 degrees F
- 2 tsp active dry yeast
- 2 tsp cane sugar brown sugar or honey also work
- 1 large egg if you want to do an egg wash on top, you'll need 2 large eggs
- 1 1/2 tsp salt
- 3 1/2 – 4 1/2 cups all purpose flour
Instructions
- Start by proofing your yeast. In the bowl of a stand mixer, or a large mixing bowl, add the warm water. Sprinkle in the active dry yeast and sugar. Allow to sit for 5-10 minutes. If the yeast is good, you should notice bubbles forming on top.
- Add in the salt and egg. Mix to combine.
- Add the dough hook to your stand mixer. Start by adding in a cup of flour at a time and allowing the mixer to incorporate it. Once you get to 3 cups, switch to adding flour 1/2 cup at a time or until the dough is pulling away from the sides. You should end up somewhere between 3 1/2 and 4 1/2 cups of flour used total.
- Let the mixer run knead the dough for about 3-4 minutes. If kneading by hand, continue kneading until the dough becomes smooth and elastic.
- Transfer the dough to a large lightly oiled bowl and cover with a clean cloth. Place in a warm area and allow to rise for about an hour, or until the dough has doubled.
- At the end of the first rise, punch down the center of the dough, allowing it to pull away from the sides. Dump the dough out onto a floured surface.
- Roll your dough into a loaf shape by making a rectangle and rolling the sides in. You can then tuck the ends under. Place the loaf into a nonstick or greased loaf pan. Allow to rise in a warm place for another 20-30 minutes, or until the dough has risen above the sides of the loaf pan.
- After the dough is done rising, you can brush the top with an egg wash to get a beautiful golden brown crust. Bake the loaf in 350 degree oven for 25-30 minutes.
- Remove from the oven and let cool for 5 minutes in the pan. Remove from the pan and allow to cool completely on a rack.
- Store bread in an airtight container for 2-3 days, or in the fridge for a week.
