
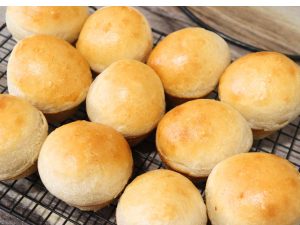
Easy Dairy Free Dinner Rolls from Scratch
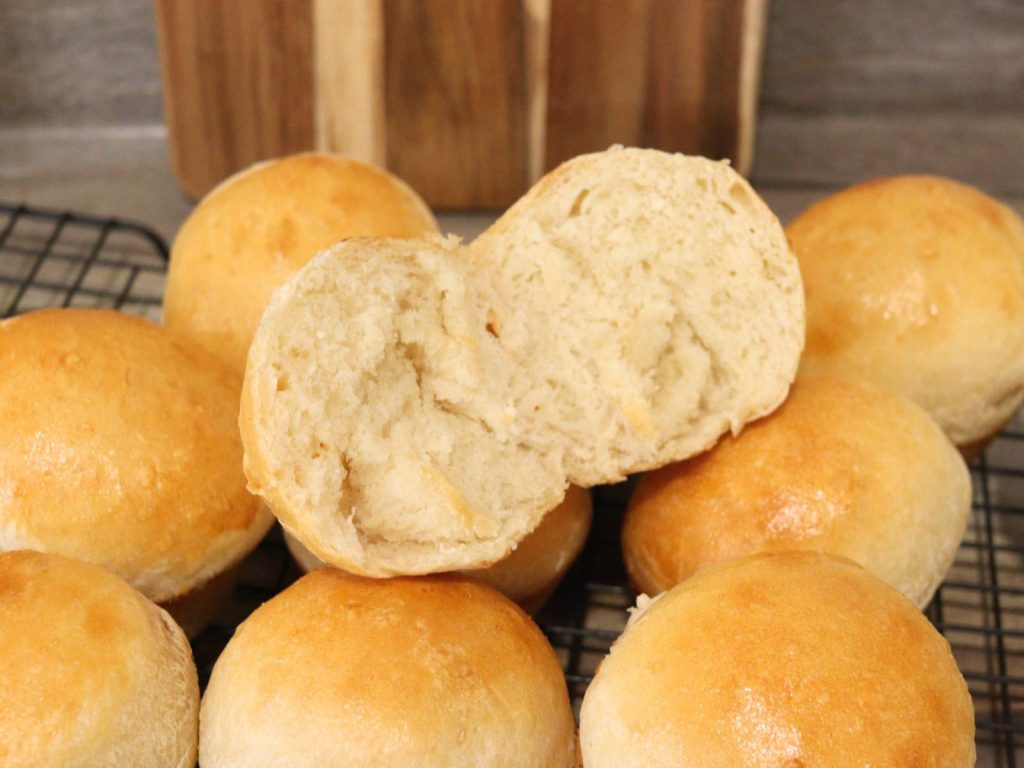
These homemade dairy free dinner rolls are so simple and only use 5 basic ingredients. No butter, oil or milk needed for these delicious golden brown yeast rolls.
Learning to bake homemade bread products was one of those things that I was hesitant to try. I guess I just believed it would be too difficult to learn.
And while there are definitely many advanced bread recipes out there that will yield a beautiful artisanal style product- I’ve also realized bread making can be incredibly simple!
And that’s exactly what this dairy free dough recipe is – simple. So when my great aunt shared this recipe with me, I knew I had to pass it on here.
It’s perfect for those who need a dairy free diet or if you’re just lacking some of the more standard bread making ingredients – like milk, butter, or oil.
Affiliate Disclosure: This post may contain affiliate links. As an Amazon Associate, this means that I will earn a small commission if you choose to purchase through my links. This is at no extra cost to you!
Ingredients for Dairy Free Dinner Rolls
- Flour – First up, you’re going to need to select what type of flour you’re going to be using. I recommend stick to an all-purpose flour for this recipe. If you’re using a different type of flour, like a whole wheat flour, you may find that you need to use more or less of the measured amount listed in the recipe. Just add your flour bit by bit and by attention to the consistency of the dough.
- Active Dry Yeast – Yeast is the ingredient that makes your bread rise. This recipe uses active dry yeast that needs to be proofed in water.
- Sugar – I prefer using organic cane sugar, but a granulated white sugar, brown sugar, or honey all work as well.
- Egg – One for the dough, one for the egg was on top if you want.
- Salt
- Warm Water – Make sure it’s warm (100-110 degree F)- not hot.
To Use Instant Yeast in Place of Active Dry Yeast
Adjust the amount of yeast needed to 1.5 tsp if you are wanting to use rapid rise yeast. Rapid rise yeast doesn’t need to be proofed, but it can be if you prefer.
Lastly, your dough will probably rise faster, so you’ll need to adjust rising times. Once your dough has doubled in size, move on to the next phase!
Making Dairy Free Dinner Rolls
Ok, let’s get in to exactly how to make these simple beginner friendly dinner rolls!
START WITH PROOFING YOUR YEAST
In the bowl of a stand mixer (or a large mixing bowl if kneading by hand) combine your warm water, yeast, and sugar. Allow this mixture to sit for about 5 minutes. At the end of this time period, you should notice a frothy layer on top of the water. This means that your yeast is active and you’re ready to move on to the next step.
ADD OTHER INGREDIENTS
Next, add in your egg and salt. Stir until combined.
Now, you’re going to start adding your flour. Put the dough hook attachment on your stand mixer if you’re using one. Add one cup of flour at a time until you reach 3 cups. Then, switch to adding 1/2 cup of flour at a time until your dough starts to pull away from the sides of the bowl. This should happen around 3 1/2 – 4 1/2 cups of flour.
Using a stand mixer with a pour shield makes this process quick and easy.
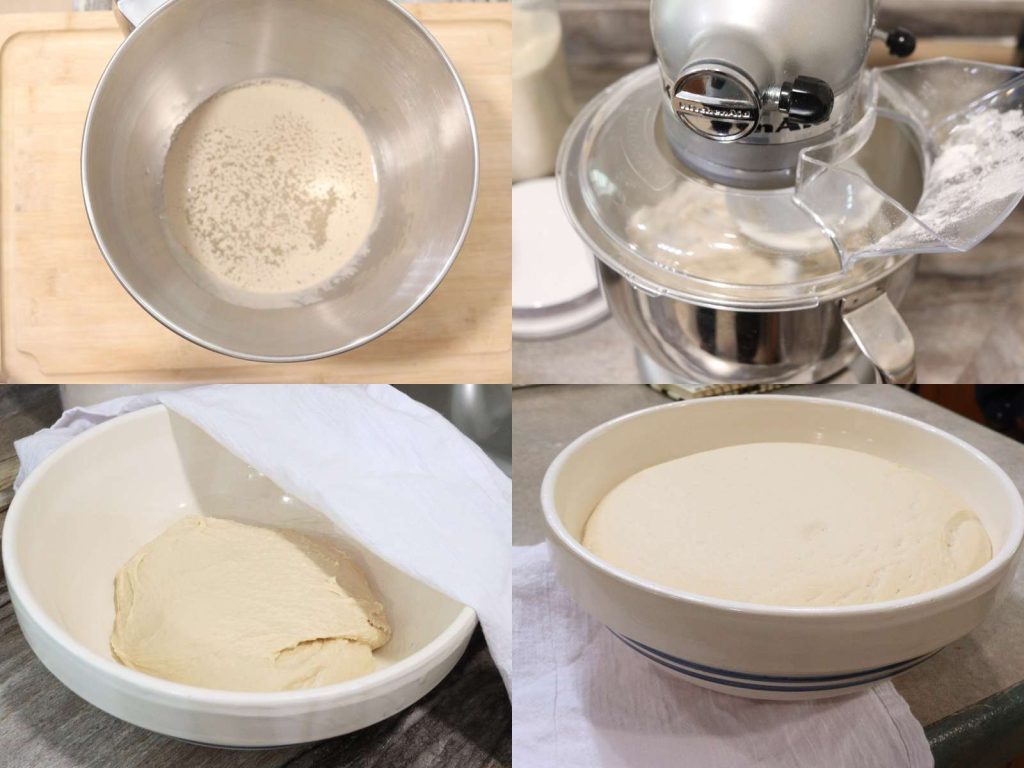
Knead Dairy Free Dinner Rolls & Let Rise
Allow the stand mixer to knead the dough for about 4 minutes.
If kneading by hand, transfer the dough to well-floured surface, and knead until smooth and elastic.
Grease a large bowl and place the dough in it. Cover with a tea cloth and place in a warm place. I like to use my oven with the light turned on to create a warm environment. Allow the dough to rise for about an hour, or until doubled in size.
How to Easily Shape Your Dinner Rolls
Once your dough has completed the first rise, you’re going to start shaping your homemade rolls.
You can either pinch off a piece of dough – a little larger than a 1/4 cup size – and roll into a ball. This should yield roughly 14-16 dinner rolls.
Or you can get more precise by dumping the dough onto a floured surface and shaping the dough into a rectangle. Cut your rectangle in half with a dough cutter (this is the affordable one I use), then cut each half into 7-8 even sized pieces. Shape each piece into a ball.

I like to flip the dough ball over and pinch the bottom seams together. You can also do this by twisting the dough on a floured surface.
Both of these methods work well, one is just a bit more precise than the other.
Second Rise and Bake
Place your balls of dough into a greased 9X13 baking dish for normal sized dinner rolls.
Another option is to divide your dough into 12 even pieces and use a muffin tin for baking. This will yield a dozen really big dinner rolls – but that’s never an issue around here.

Now, you’ll allow your dough to rise a second time, about 20 minutes. Brush the tops with an egg wash before baking to get a nice golden brown top.
Bake in a 375 degree oven for 20-25 minutes.
More Simple From Scratch Recipes You May Enjoy!
- Traditional Homemade Chicken and Dumplings
- Chocolate Chip Banana Bread From Scratch
- Simple Homemade Drop Biscuits – No Kneading or Cutting!
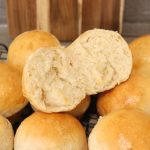
Dairy Free Dinner Rolls
Equipment
- Stand Mixer with Dough Hook optional
- large mixing bowls will need two if you're not using a stand mixer
- measuring cups and spoons
- dough scraper/cutter
- 9X5 bread loaf pan
Ingredients
- 1 1/4 cups water warm
- 2 tsp active dry yeast
- 2 tsp cane sugar white or brown sugar, or honey also work well
- 1 1/2 tsp salt
- 1 large egg will need an additional egg if wanting to add an egg wash to the top
- 3 1/2 – 4 1/2 cups all purpose flour
Instructions
- Start by proofing your yeast. In a large mixing bowl or the bowl of your stand mixer, add warm water. Sprinkle the yeast and sugar on top and allow to sit for 5 minutes. The mixture should start to bubble.
- Add in the egg and salt. Stir to combine.
- Add the dough hook to your mixer. Start mixing in your flour 1 cup at a time, until you reach 3 cups. Then switch to adding 1/2 cup at a time, until the dough starts to pull away from the sides. This should take somewhere between 3 1/2 – 4 1/2 cups total depending on the flour you're using.
- Let the mixer run for 3-4 minutes, or if kneading by hand, knead until the dough is smooth and elastic.
- Transfer to a large greased mixing bowl. Cover with a clean towel and place in a warm spot to rise for about an hour.
- At the hour mark, or once dough has doubled in size, you can start making your rolls. To do this, dump your dough onto a floured surface and shape into a rectangle. Cut the rectangle in half with a dough cutter. Divide each half into 6-8 even sized pieces. Shape into a ball and place in a greased 9X13 baking dish. If you're not bothered by slightly uneven rolls, you can also pinch off pieces of dough – a little larger than a 1/4 cup scoop – and shape into dough balls that way.
- Allow to rise for an additional 20 minutes, or until doubled in size, in a warm place. Brush the tops of the rolls with an egg wash before baking for a golden brown crust.
- Bake in a 375 degree oven for 20-25 minutes.
Notes
Dairy Free Dinner Rolls FAQ
WHY DIDN’T MY YEAST BUBBLE DURING THE PROOFING PROCESS?
Fresh yeast should bubble during the proofing process. If you don’t see bubbles/foam develop during the proofing process, it could be a sign that your yeast was old. It could also mean that your water was too hot and killed the yeast. Remember you should be using lukewarm water – not hot – during this step.
WHY DIDN’T MY DOUGH RISE?
There are various factors that could affect your dough not rising.
Some of the most common factors are using old or expired yeast, using water that is too hot during proofing, or not having a warm enough location for the dough to rise in.
Other factors could be over kneading or under kneading. Kneading is the process for developing gluten, so doing too much or too little can have an impact on bread rising.
Or, you may have possibly used too much flour in your dough, resulting in a dough that was too dense to rise properly.
MY DOUGH IS REALLY STICKY. IS THAT NORMAL?
Your dough will still be somewhat sticky to the touch. Be sure to flour your surface to eliminate it from sticking. You can also lightly dust your hands with flour. If you keep adding flour until it’s not sticky at all, you will end up with a really heavy bread or a bread that doesn’t rise properly.
However, if it’s really sticky and runny, to the point you can’t handle it while kneading, that’s probably a sign you need more flour.
CAN I USE A GLUTEN-FREE FLOUR BLEND?
You can definitely give it a shot! I’ve not personally tried it, but if you do, let me know how it turns out.
CAN I OMIT THE EGG IN THIS BREAD RECIPE?
If you are also avoiding eggs, you can substitute the egg for an additional 1/4 cup of water.
Another option, that I haven’t tried, is to use a flax egg in place of the chicken egg.