How to DIY a Cheap Brooder Box for Chicks

This DIY brooder box uses easy to find materials and can be assembled quickly. In less than 30 minutes, you’ll have a brooder box ready to go for your new chicks!
Ah, the thrill of picking out your first chicks. It’s exciting to know those cute and fluffy birds will be providing your family with tons of eggs soon enough. But what exactly do you need to have ready to go when you get them home?
We all know animals need food, water and shelter. But with chicks, there is another important piece that you must have as soon as you bring them home – a brooder.
You can purchase commercial brooders or you can assemble something on your own, which is what this post is about.
I’m going to share how to easily assemble a brooder box using a large plastic tote with a DIY lid. We love how easy these are to clean out, plus they are lightweight and durable. And you can stack them together when not in use to help save your precious storage space.
What is a brooder box?
A brooder is an enclosure that replicates the environment that a baby chick would live in if it had a mother hen. Since chicks do not have their feathers yet, they depend on outside sources to maintain their body temperature. In nature, this is provided by the mother. But when purchasing day old chicks from hatcheries or stores like Tractor Supply, this becomes your responsibility.
You will need to recreate the warm and safe environment for the chicks to grow and “feather out” in. This is where a brooder box and heat lamp come in.
Essential Parts of a Brooder
For a brooder box to be effective, you need to ensure the enclosure you choose meets the following criteria:
- draft free
- reliable heat
- proper ventilation
- adequate space for chicks plus feeder and waterer
Here’s the video from my YouTube channel where we assembled these boxes for ourselves. Like I mentioned, we use them frequently for hatching quail. We’ve also used for our cornish cross meat chickens and our dual-purpose breeds.
How long do you need to brood chicks for?
This can vary from breed to breed, but you should expect a minimum of 5 weeks and up to 8 weeks. The determining factor is how quickly your chickens “feather out”. Once the chicks have all of their feathers, they will be ready to come out of the brooder.
Another thing to note – if the outside temperatures exceed the required temperature for you chicks age, you could go ahead and move them outside.
For example – if your chicks are at the age that they need 80 degrees, and your day AND nighttime temps are consistently staying above this, you should be okay to move the chicks outside at that point.
How much space do you need in a brooder for chicks?
In general, you are going to want to provide 1/2 square foot of space per bird for chicks ages 0-4 weeks. From weeks 4-8, you will need to provide closer to 1 sq ft of space per bird.
Keep in mind you will also have a feeder and waterer taking up space in the brooder, so you need to factor that into your size. You want to make sure there is adequate space for the birds to stay warm without piling on top of each other. This may mean you need multiple brooders after the 4-week mark.
We use a heat lamp hanging a safe distance above the hardware cloth lid to provide heat. This ensures that the heat is not directly on the plastic tote and does not take up space inside the brooder.
(Always follow safety instructions from the manufacturer for whatever heat source you chose to go with.)
Personally, we have three of these boxes with lids. We use them to brood quail since we hatch new quail out regularly.
Materials for DIY Brooder
- 90 qt plastic storage tote
- (2) 8 ft. 1 inch X 2 inch boards
- roll of 24 inch wide 1/2 inch hardware cloth
- 1 5/8 inch wood screws
- 3/4 inch u shaped nails
Tools
- wood saw to cut boards (or have them cut at lumber store)
- speed square (recommended)
- tin snips
- drill
- brad nailer
Assembly
For this box we will be using a 90 QT Sterilite Plastic Storage tote. This particular box provides enough space for up to 6 chicks. If you chose a larger tote, that is fine, you’ll just need to adjust your measurements.
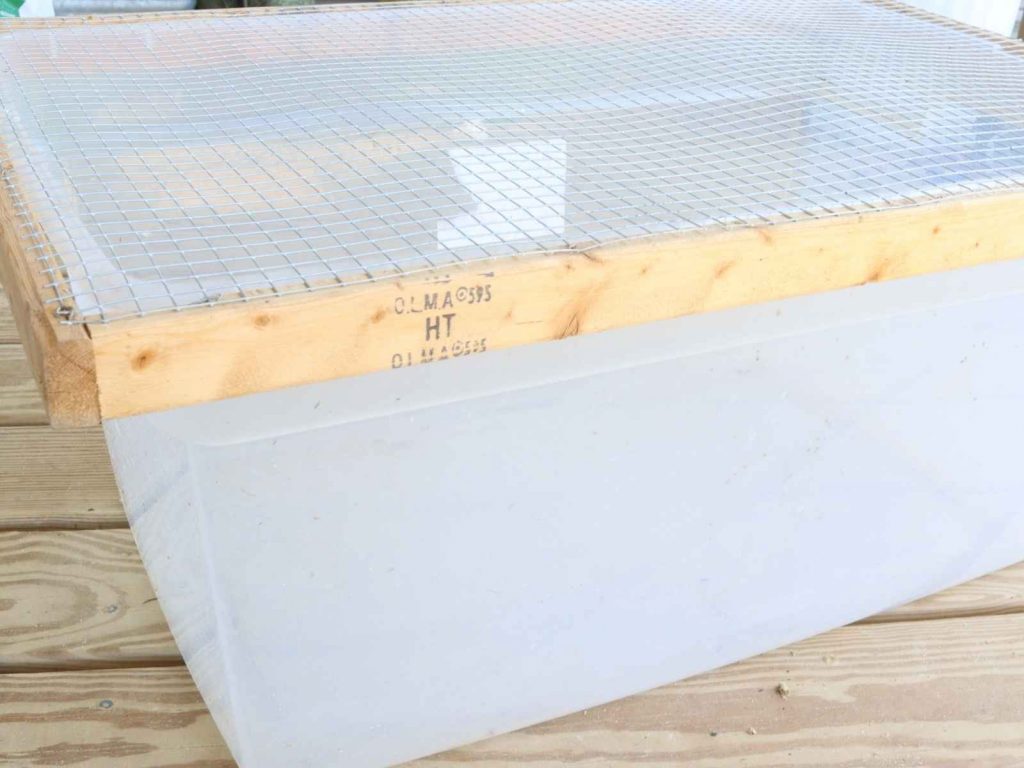
You will be assembling a lid that is slightly larger than the top of your box. This will allow the lid to hang over the sides as opposed to balancing on the top of the box.
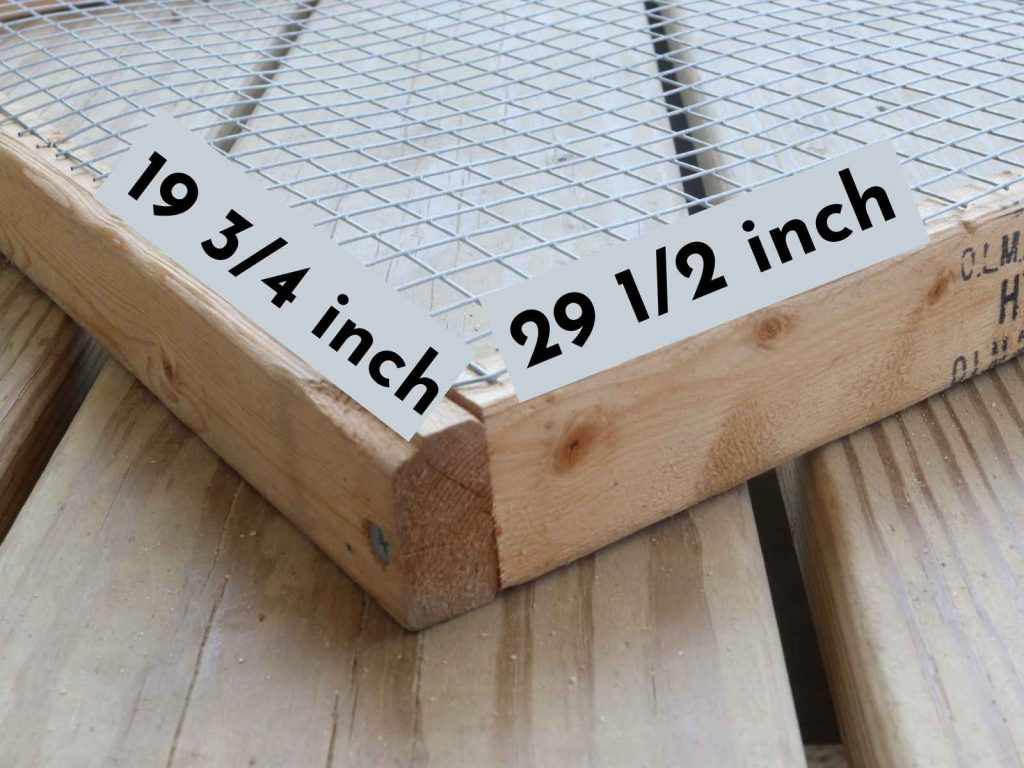
Next you are going to cut your boards in to (2) 19 3/4-inch pieces and (2) 29 1/2-inch pieces. You will attach the 19 1/2 inch pieces to the outside of the 29 1/2 inch pieces using your wood screws. I recommend pre-drilling the holes with a drill bit to keep the wood from splitting.

Use the speed square to make sure everything is square.
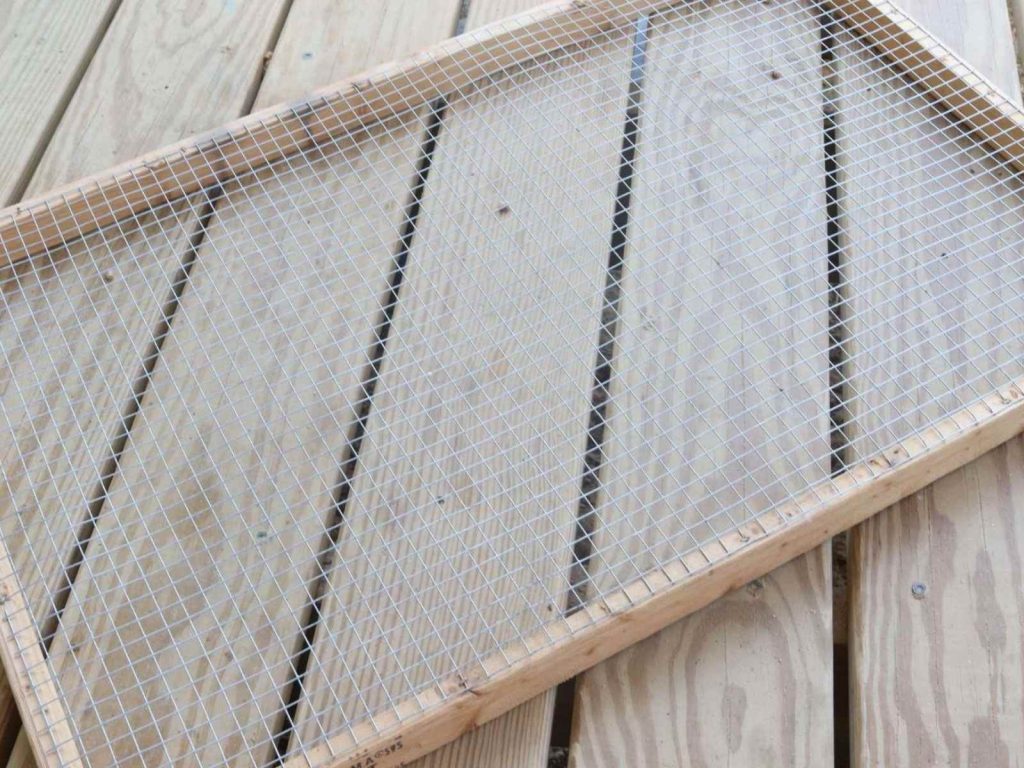
All that’s left now is to cut and attach your hardware cloth to the lid. To cut your hardware cloth you can use tin snips like these. The edges of hardware cloth are sharp, so use extra caution while handling or wear gloves.
You’ll cut a piece of hardware cloth that is 19 X 30 1/2 inches. You will need to trim all of the pieces from around the edges so that you don’t have sharp pieces sticking out.
Attach the hardware cloth using the brad nailer and 5/8 inch u-shaped nails every 3-4 inches.
And that’s it! You now have a lid that fits easily on top of your plastic tote. All that’s left now is to put in your wood chips, feed, water, and keep it nice and warm!

Pin It For Later!

Other posts you may find helpful:
How Much Does It Cost to Raise Chickens for Meat
