
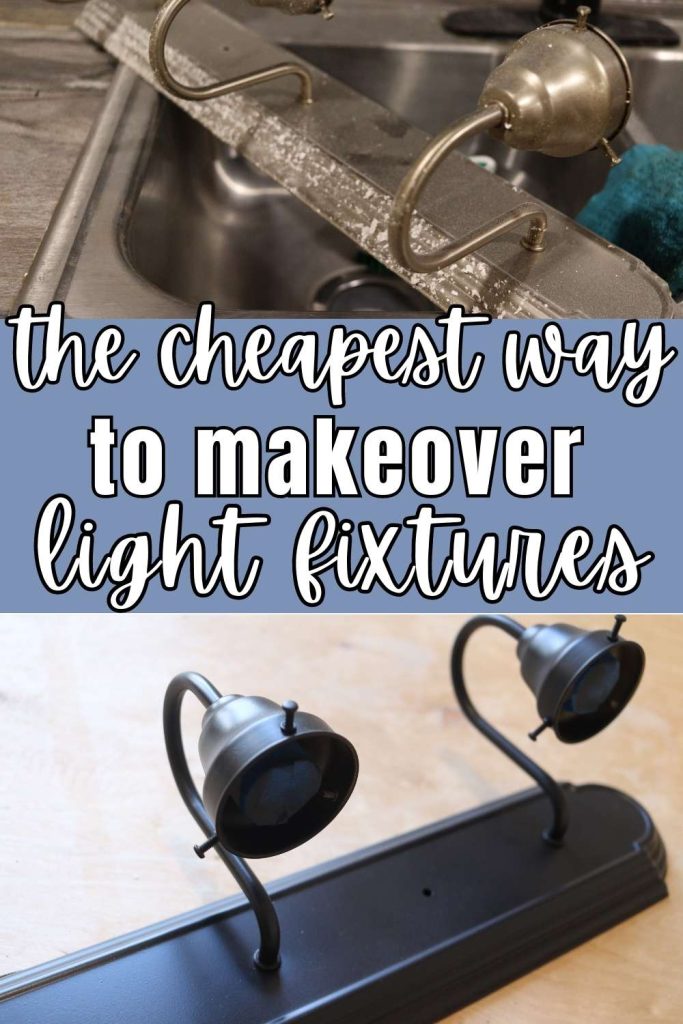
How to Update Your Bathroom Light Fixture with Spray Paint
This DIY bathroom light fixture makeover is an easy way to save money on your bathroom remodel. See how we updated 4 old fixtures for $10 by using a can of spray paint!
We recently purchased a used mobile home to live in as part of our debt free living journey. And we’ve been working on renovating it – all on a pretty tight budget.
When it got time to purchase new light fixtures, I was torn on what to do with the old bathroom vanity lights.
They had good bones – the shape was fine and they still worked as they should. But the finishing needed some attention.
I really hated to spend money on new fixtures when we had perfectly sound existing ones.
So, I started looking at affordable ways that I could update our existing fixture.
With a little sanding, a few coats of spray paint, and $10 dollars – I was able to give our bathroom vanity light fixtures a whole new look!
Affiliate Disclosure: This post may contain affiliate links. As an Amazon Associate, this means that I will earn a small commission if you choose to purchase through my links. This is at no extra cost to you!
Materials for Spray Painting Light Fixtures
- Spray Paint
- Clear Coat
- Cleaning Cloths
- Rubbing Alcohol (to remove grime)
- Sand Paper or Wire Brushes
- Painters Tape
The best thing about this simple DIY project is that you should be able to get all needed supplies at your local home improvement stores. Places like Home Depot have a huge selection of spray paint colors and finishes to choose from.
Choosing the Right Spray Paint for Your Old Light Fixture
The finishing that you choose really depends on your personal preference. Start by selecting a paint color that coordinates with your other bathroom fixtures. Then, you’ll select the finish. Just like with wall paint, the finish will determine the gloss level.

I wanted to go for a sort of “modern farmhouse” feel, so I selected a this Rustoleom Painters Touch in flat black. This spray paint includes a primer and was perfect for this DIY project.
You’ll want to spray a protective finishing coat on afterwards. We opted for a satin clear coat. It didn’t add too much shine to the flat finish, but it allows the fixtures to be wiped down much easier.
Tips for Getting a Smooth, Even Coating
You want to apply thin, even coatings. Don’t try to cover the entire surface with one coat. You will more than likely end up with “drips” of paint.
Instead, hold the can of spray paint about 8-10 inches away. Use a sweeping motion, going side to side, to apply light coats.
After the first coat is completely dry, add a second, and possible third coat of paint until the entire light fixture is coated.
How to Spray Paint an Old Bathroom Light Fixture – Step-by-step Instructions
After uninstalling your light fixtures from the wall, you’ll need to do a little prep work to ensure a good end result.

Remove the Light Shades and Bulbs
You want to start by removing the light bulbs and glass shades from your uninstalled light fixture. It is much easier to get even coats without having to work around the bulky covers.
Clean and Sand
Now you want to make sure that you have a clean and smooth work surface.
Start by giving the fixtures a good cleaning by wiping them down with a clean, damp cloth.
Rubbing alcohol works well to remove stuck on grime and oil.
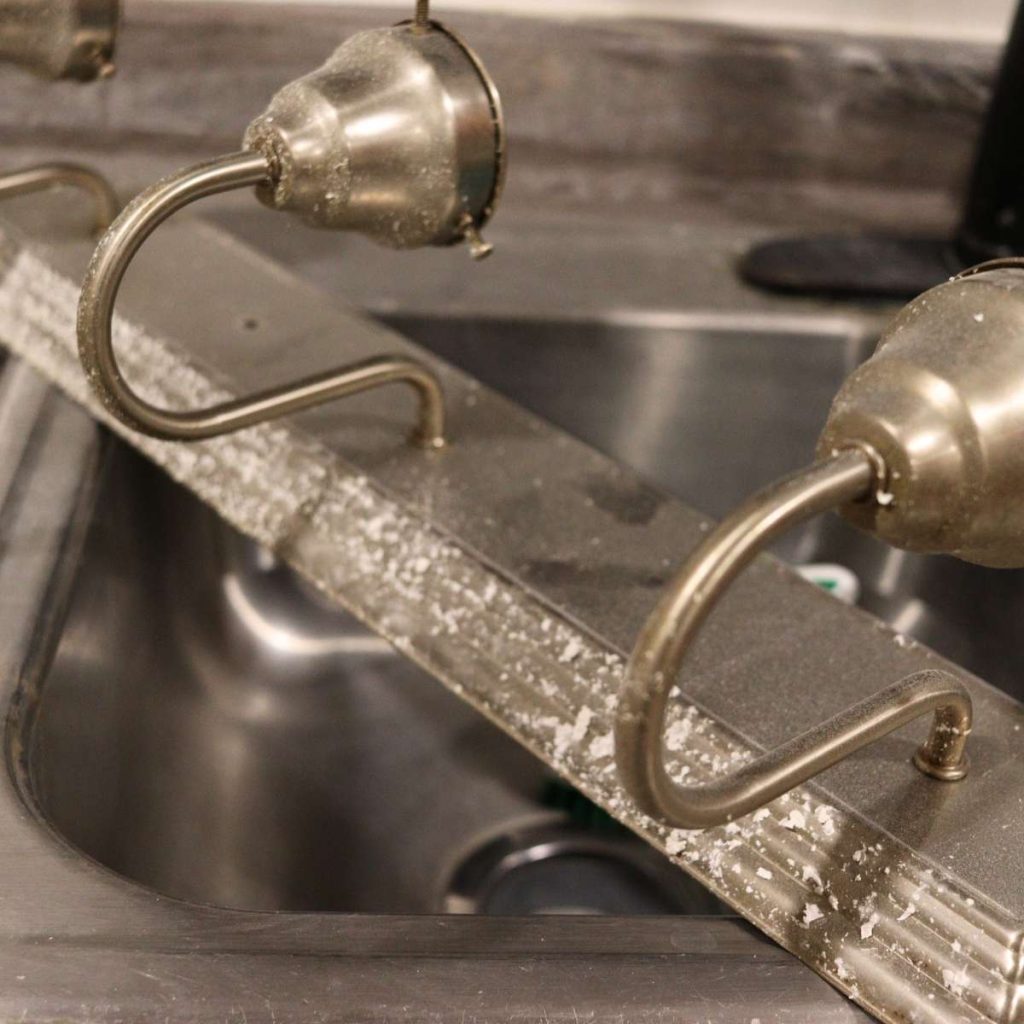
Then you want to sand any rough spots off of the fixtures. This just makes sure that you get a smooth finish.
As you can see, my fixtures had some rust spots as well as some debris from the sheetrock work we had done.
I used these small wire brushes and a piece of sandpaper in 60 grit. Just be sure to work gently if you use the brushes.

Cover the Light Socket
You want to avoid getting paint inside of the socket where the bulbs screw in.
You can use painter’s tape to cover these.
Prep Your Area
I highly recommend painting your fixtures outside. If that’s not possible, you’ll just want to make sure that you cover your work surface well, accounting for any overspray.
Using a large drop cloth of piece of cardboard is a great way to protect your work surfaces.
We we’re actually in the process of pulling out our old flooring, so I was able to paint inside without any concern of overspray.
Start Painting
Now it’s time to start painting. Shake your spray paint can well and start applying thin coats of paint to the fixture.
You will need to apply multiple light coats, allowing each coat to dry before applying then next.
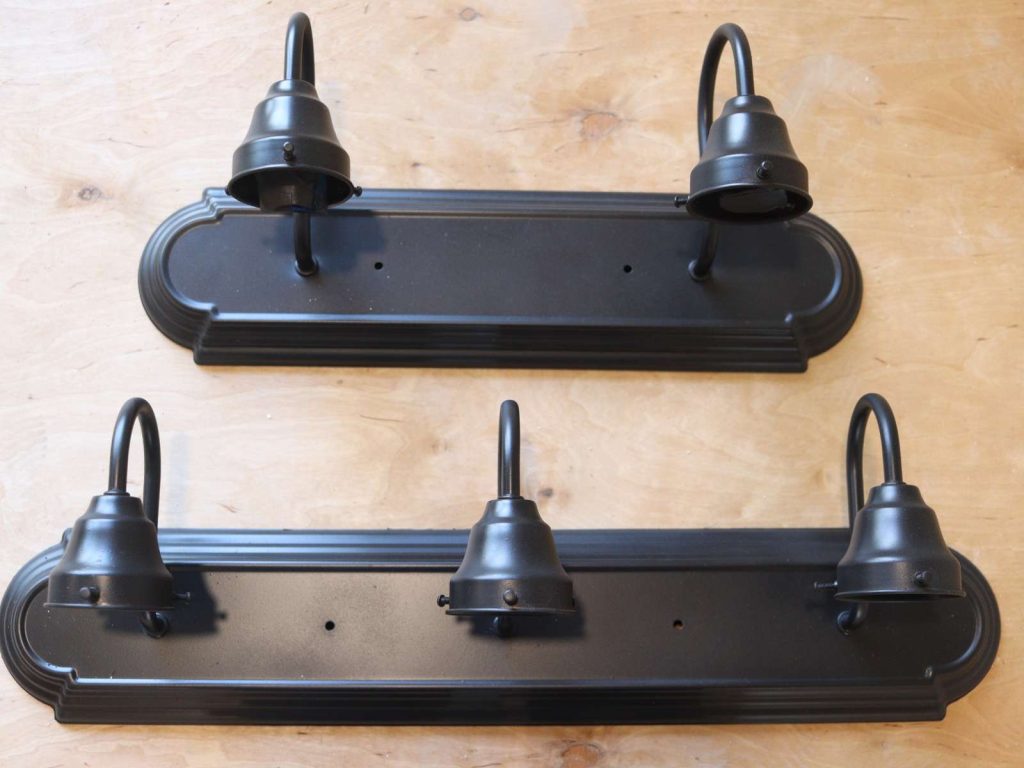
Finally, you’ll finish it off with a protective clear coat.
Now the light fixture is ready to reinstall!
As you can see here, we still need to decide on new shades and bulbs for our fixtures (and replace this old vanity mirror).
But overall, I’m extremely happy with our light fixture update. And the price tag wasn’t bad either.
We were able to spray paint all 4 of our old fixtures for a little under $10. You can’t beat that!

Can I Paint My Old Bathroom Light Fixture with a Brush?
I would not recommend painting your light fixtures with a brush. Using a can of spray paint to give your fixture a different look is the best option. Spray paint allows you to apply light coats, getting in all the ridges. You’ll also avoid brush strokes, which could lead to a less than desirable end result.
Can I spray paint my light fixture on the wall?
You can spray paint your light fixtures while they are still on the wall, but you will need to take extra care to cover all nearby surfaces and walls. I would recommend taking the fixture off the wall. You can then paint them outside or in another well-ventilated area, without worrying about overspray.
Pin this for Later!
Check out these other Budget Friendly DIY Posts!
DIY Mobile Home Remodel on a Budget (Part Two)