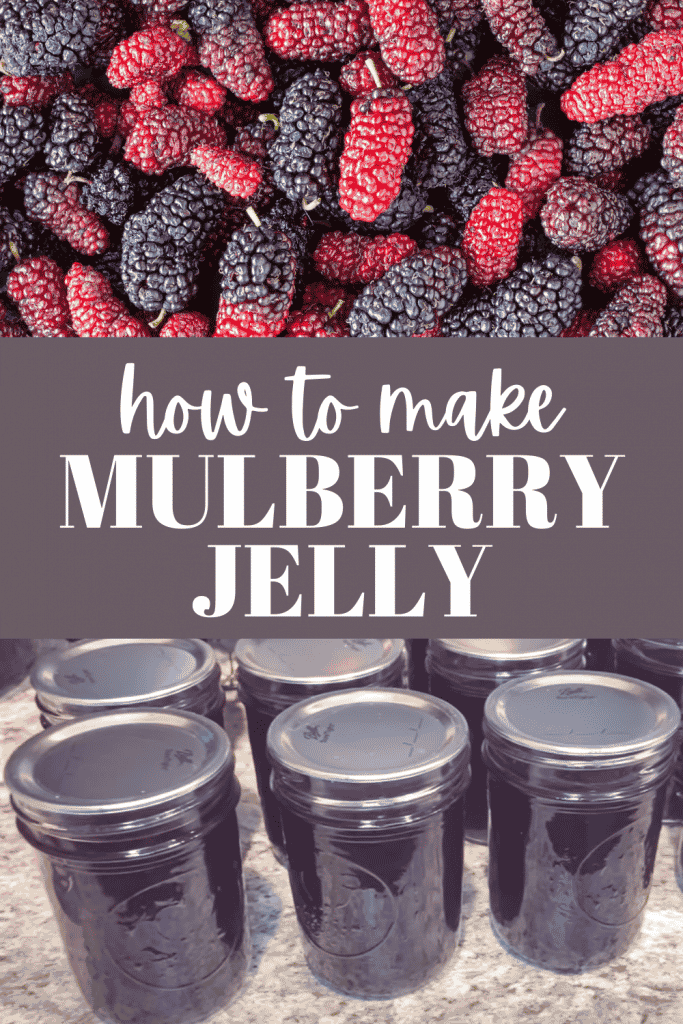
Recipe to Make Delicious Mulberry Jelly
Mulberries are delicious, dark purple berries that are packed with vitamin C and make amazing jelly. This easy mulberry jelly recipe is for a lower sugar option. So, if you have buckets of ripe mulberries, you’ll want to give this recipe a try!

My mother-in-law has mulberry trees in her front yard. During mulberry season (late spring into summer), the trees are loaded down with the deep purple berries.
Thankfully, she allows us to come fill our buckets with as many as we want. Although, my two boys spend most of their time eating the berries instead of actually filling buckets…
(Affiliate link disclosure: this post may contain affiliate links. As an Amazon Associate, this means I will earn a small commission if you chose to purchase through my link. This is at no extra cost to you!)
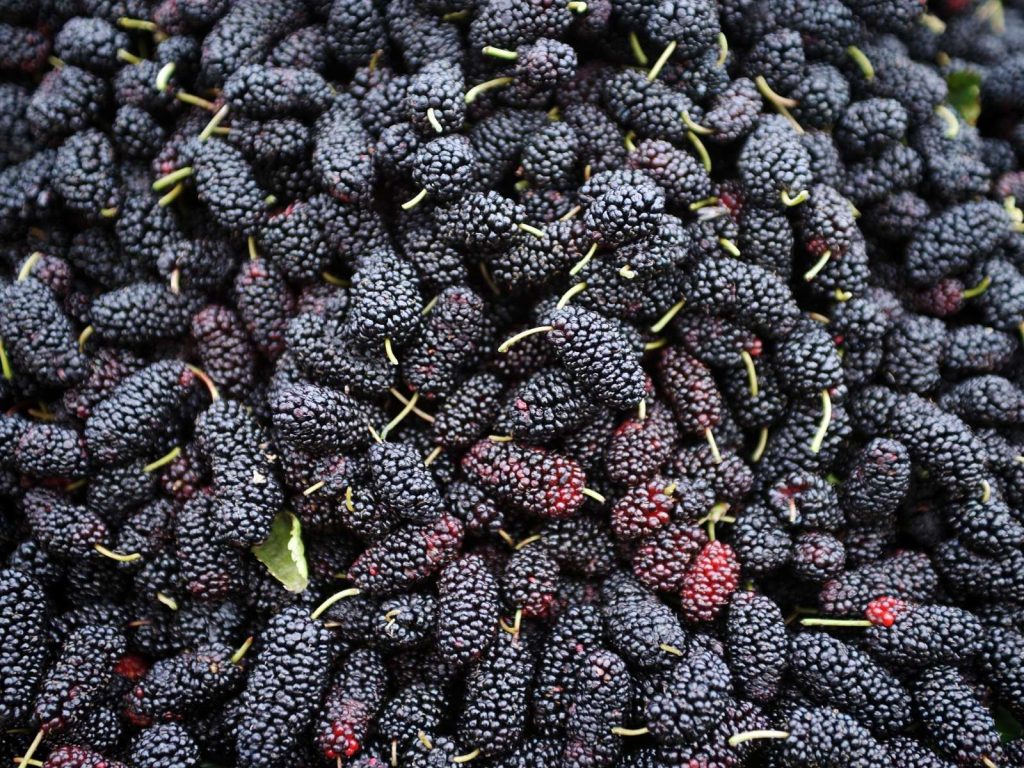
What is a Mulberry?
A mulberry is a deep purple berry that resembles a longer, skinnier, blackberry. Their deep purple color can stain very easily and you’ll usually end up with purple or red fingers once you’re done picking them.
They are packed full of vitamin C and iron. They can be used to make mulberry syrup, pie, jam..and of course, jelly.
Mulberry Jam vs Mulberry Jelly
Jam is made from a pulp, which includes small pieces of the fruit you are using whereas jelly is made from the juice of the fruit.
When making a homemade mulberry jam recipe, you’ll notice that you need to remove the small green stems since you don’t want stems in your jam. This extra step can be quite time consuming and tedious, so we still to jelly in our house.
Reduced Sugar Mulberry Jelly Recipe
Ingredients:
- 4 1/2 cups mulberry juice – this takes about 4-5 lbs of mulberries
- 3 Cups Sugar
- Sure Jell – for this recipe we will be using this box that says “for use in less or no sugar needed recipes”.
Equipment:
- 6 half-pint jars with two-piece metal canning lids
- Water bath canner
- Cheese cloth or Jelly Bag
- Canning accessories : tongs and rack
- Canning funnel (optional)
Step 1:
First, you need to wash your berries under cold water. You will probably want to wash them several times to ensure there are no debris or pests on them. I try to use about 75% ripe berries, with the other 25% unripe. I’ve been told this helps with the setting process of the jelly.
Step 2:
Once your berries are clean, you will need to get your mulberry juice prepared. To do this, place your berries in a large pot and crush berries. You can use a wooden spoon or even a potato masher to crush the berries. Add in 1-1/2 cups of water. Bring to a boil and cover. Simmer for 5 minutes over medium low heat.
New to canning? Check out this post with everything you need to get started canning at home!
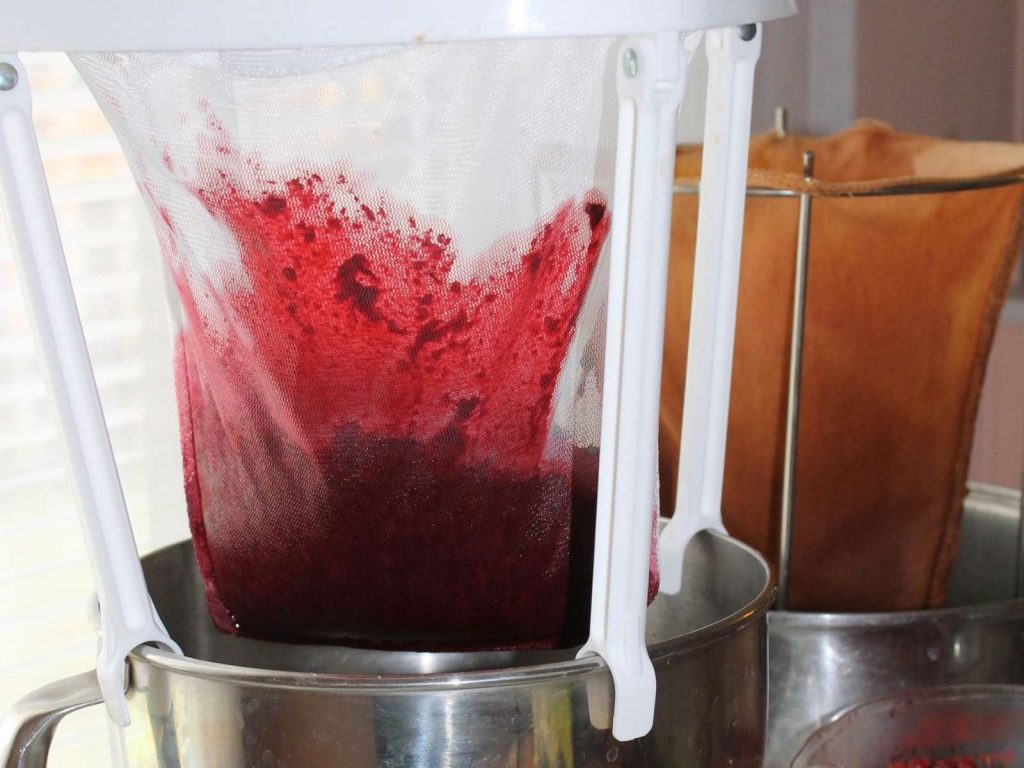
Step 3:
The next step is to strain your berries to get the fruit juice. To do this, place a few layers of damp cheese cloth or a jelly bag into a large bowl. Pour the cooked berries into the center of the cheesecloth and tie it closed. Hang the cheesecloth and let it drip. Once dripping stops, you can gently squeeze it to get the last bit of juice out.
Step 4:
While your berries are straining, you can take the time to get your water bath canner set up and your sterilized jars and lids ready.
As a reminder your canning jars need to be hot when you go to pour liquid in and you should always use a new lid piece (rims are okay to reuse if sterilized, just not the actual lid that suctions to the jar during processing).
The easiest way to sterilize your jars is to bring water to a boil in the water bath canner and allow the jars and lids to boil for 10 minutes. You can then turn the heat off and allow your jars to sit in the hot water until you’re ready to fill.
Homemade biscuits are the best – but easy homemade biscuits are even better! Check out this recipe for easy drop biscuits to eat with your homemade jelly!
Step 5:
Measure out 3 cups of sugar and set to the side.
Next, measure out 4 1/2 cups of juice and pour into the large pot. Take 1/2 cup of the prepared sugar and the package of pectin and stir into the juice. Bring the mixture to a full rolling boil over high heat.
Stir in the remaining sugar and return to a hard boil for exactly 1 minute, stirring the entire time. Remove from heat and skim off foam with a metal spoon.
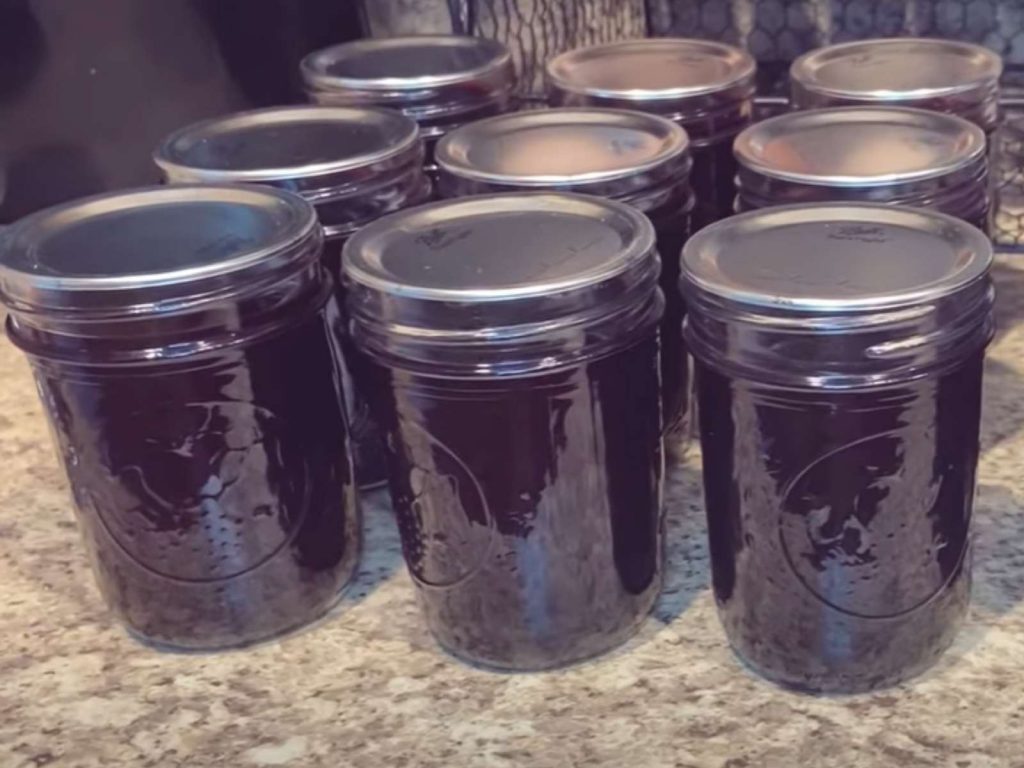
Step 6:
Finally, take your hot jars and begin to ladle in the mixture, leaving 1/4 inch headspace. Wipe the rims of jars and threads with a clean rag. Put your two piece lids on and screw the bands tightly.
Step 7:
Now you just need to process the jars in your boiling water-bath canner. Lower your jars into the canner with a rack and ensure the tops of the jars are covered by 1-2 inches of water. Cover and bring to a gentle boil. Allow jelly jars to process 5 minutes.
Remove the jars after processing and place upright on a flat surface. Allow to cool 24 hours. After cooling, you can check the seals by pushing on the center of the lid. If the center of the lid “pops”, your jars did not seal, and you will need to refrigerate your jelly.
Sealed jars can be stored in a cool, dark place for up to 1 year.
What to do with leftover juice?
If you have leftover juice but not quite enough to make another batch of jelly, you can preserve it for 6 or so months by freezing. Just take the fresh juice – without any sugar added – and store in an airtight, freezer safe container or jar.
Hopefully next year we can double up and have an entire years’ worth of jelly stored again!
Pin this Mulberry Jelly recipe for later!